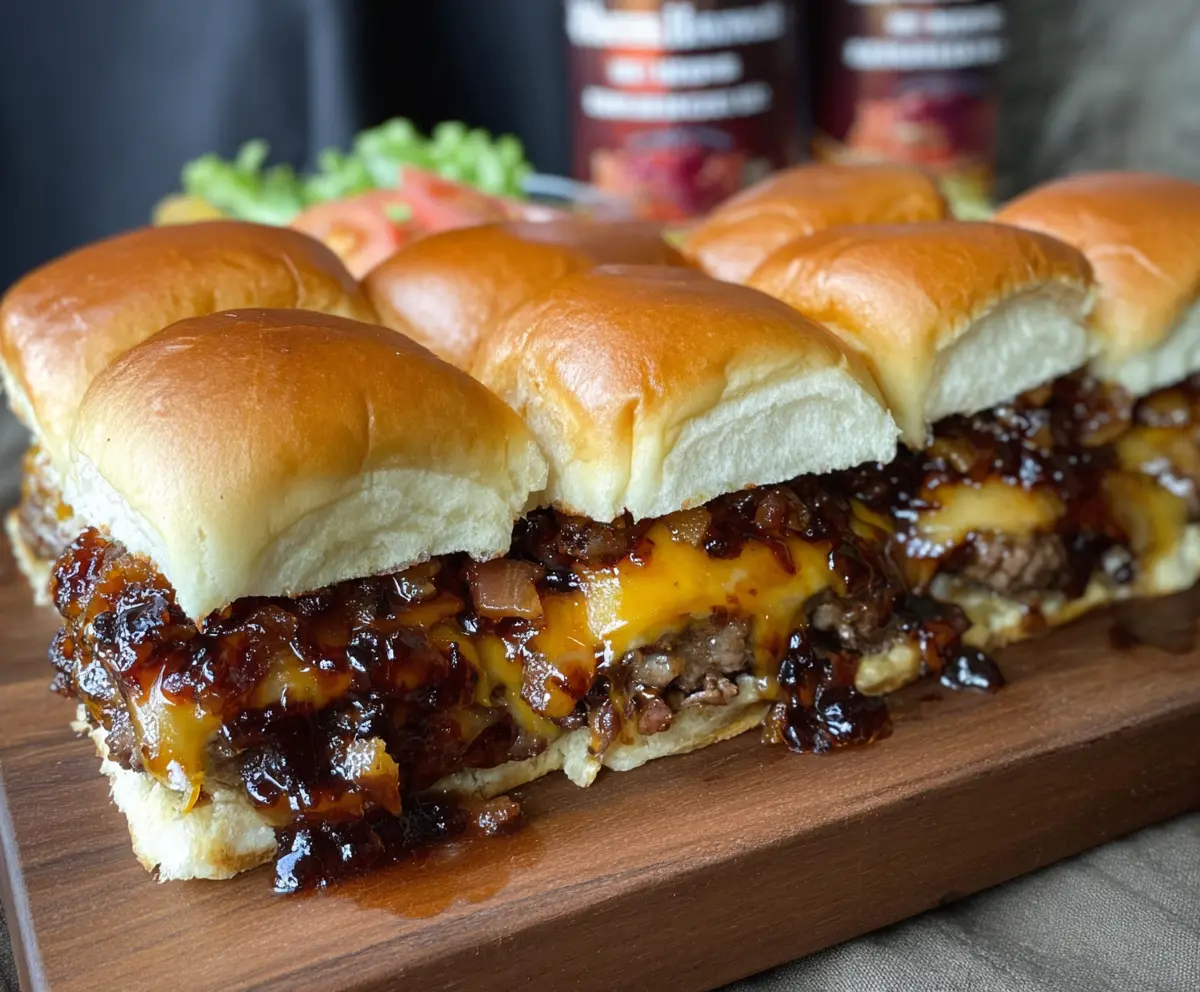
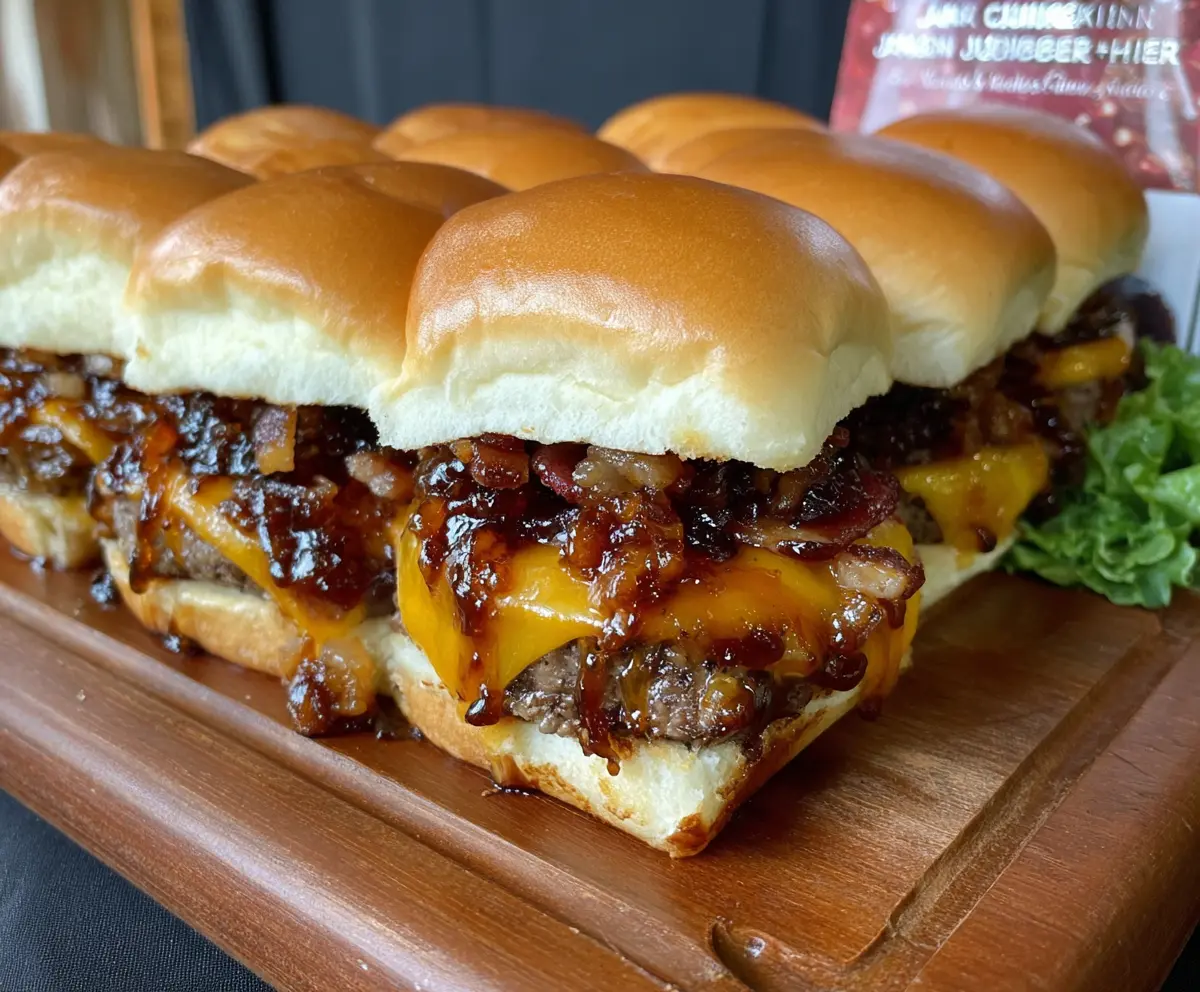
You’ll love these Bacon Jam Cheeseburger Sliders! They are tiny, juicy burgers topped with sweet and savory bacon jam. Perfect for parties or a fun dinner!
Honestly, who doesn’t want a mini burger that bursts with flavor? I like to serve them with extra bacon jam on the side for dipping. Yum! 🍔
Key Ingredients & Substitutions
Bacon: This is the star of the bacon jam! I prefer using thick-cut bacon for extra chewiness and flavor. If you want a healthier option, you can use turkey bacon, although the texture will differ.
Onion: Yellow onion works best for its sweetness when caramelized. If you’re in a pinch, white onion can be used instead. For a milder flavor, consider using green onions.
Ground Beef: I recommend 80/20 ground beef for the juiciest sliders. If you’re looking to cut down on fat, ground turkey can work, but be mindful that it may dry out quicker, so watch the cooking time.
Cheddar Cheese: Cheddar is classic, but feel free to switch it up with pepper jack for an extra kick or American cheese for creaminess. If you’re dairy-free, vegan cheese can also work, but check for melting properties.
How Do I Get the Bacon Jam Perfectly Thick and Flavorful?
Making bacon jam sounds fancy, but it’s pretty simple once you follow a few steps! The key is patience for the caramelizing part. Here’s how to do it right:
- Cook bacon until crispy and drain. Don’t rush this step; proper browning gives a deep flavor.
- Slow-cook the onions until they are beautifully caramelized; this enhances their natural sweetness.
- Add the garlic just before the jam finishes cooking to keep its pungent flavor.
- Let the jam simmer longer for a thicker consistency. Stir occasionally, watching for that jam-like texture.
Feeling adventurous? A splash of bourbon or maple syrup can add unique flavors to your bacon jam! Enjoy your sliders with this delicious topping and happy cooking!
Bacon Jam Cheeseburger Sliders
Ingredients You’ll Need:
For the Bacon Jam:
- 8 slices bacon, chopped
- 1 large onion, finely chopped
- 2 cloves garlic, minced
- 1/4 cup brown sugar, packed
- 1/4 cup apple cider vinegar
- 1/4 cup brewed coffee (optional for depth)
- 1/2 teaspoon black pepper
- 1/2 teaspoon salt
For the Sliders:
- 1 1/2 lbs ground beef (80/20 preferred)
- Salt and pepper, to taste
- 8 slider buns (Hawaiian rolls or similar soft buns work great)
- 8 slices cheddar cheese
- Optional: lettuce, tomato slices, pickles
How Much Time Will You Need?
This recipe takes about 30-40 minutes of prep time, plus an additional 10 minutes for baking. You’ll spend a little time making the delicious bacon jam and cooking the sliders before assembling and baking them. Perfect for a fun meal!
Step-by-Step Instructions:
1. Make the Bacon Jam:
In a large skillet over medium heat, cook the chopped bacon until crispy. Remove it with a slotted spoon and let it drain on paper towels. Keep about 2 tablespoons of the bacon fat in the skillet. Add the finely chopped onions and cook them over medium-low heat until they are caramelized and soft. This will take around 20 minutes, so stir occasionally to prevent burning. When the onions are caramelized, add the minced garlic and cook for an additional minute.
Next, stir in the brown sugar, apple cider vinegar, optional brewed coffee, the reserved bacon pieces, salt, and pepper. Allow this mixture to simmer on low heat for about 30-40 minutes until it thickens and has a jam-like consistency. Once done, remove it from the heat and set it aside.
2. Prepare the Sliders:
While the bacon jam is cooking, preheat your oven to 350°F (175°C). Divide the ground beef into 8 equal portions and form them into small patties slightly larger than your slider buns, as they’ll shrink while cooking. Season both sides of the patties with salt and pepper.
Heat a grill pan or cast iron skillet over medium-high heat. Cook the patties for about 3 minutes per side or until they are cooked through. In the last minute of cooking, place a slice of cheddar cheese on each patty so it can melt. While this is happening, slice the slider buns in half but keep them connected if planning to bake them together.
3. Assemble and Bake Sliders:
Place the bottom halves of the buns in a baking dish or sheet pan. Layer the cooked cheeseburger patties onto the buns and generously spoon the bacon jam over each patty. If you wish, add optional toppings like lettuce or tomato. Place the top halves of the buns onto the assembled sliders.
Cover the sliders loosely with foil and bake them in the preheated oven for about 10 minutes until everything is warm and the tops are slightly toasted.
4. Serve:
Once baked, remove the sliders from the oven and, if necessary, cut between them to separate. Serve warm, and don’t forget to keep some extra bacon jam on the side for dipping. Enjoy these sweet, savory, and melty sliders!
—
These Bacon Jam Cheeseburger Sliders are perfect for gatherings and sure to be a hit with friends and family! They’re packed with flavor and fun to eat!
Can I Use Turkey Bacon for the Bacon Jam?
Yes, you can absolutely use turkey bacon! It will have a slightly different flavor and a bit less fat, so the jam may not be as rich, but it will still be tasty. Just ensure to cook it until crispy for the best texture.
How Can I Make These Sliders Gluten-Free?
To make these sliders gluten-free, choose gluten-free slider buns that are readily available at most grocery stores. Just be sure to check the labels to ensure they are certified gluten-free!
Can I Prepare the Bacon Jam in Advance?
Yes! You can make the bacon jam up to 3 days in advance. Just store it in an airtight container in the refrigerator. When you’re ready to use it, reheat it gently on the stove or in the microwave until warmed through.
How Do I Store Leftover Sliders?
Store any leftover sliders in an airtight container in the fridge for up to 3 days. To reheat, just warm them gently in the oven or microwave, being careful not to dry them out. Enjoy them again without losing flavor!